Table of Contents
- Why Clean Thermal Paste Matters
- What You’ll Need
- Safety First
- Removing the CPU Cooler
- Removing the Old Thermal Paste
- Applying New Thermal Paste
- Reassembling Your PC
- Powering Up
- Final Thoughts
- Frequently Asked Questions (FAQs)[+]
- How often should I clean the thermal paste off my CPU?
- Can I use any thermal paste for my CPU?
- Is it necessary to remove the CPU cooler for cleaning?
- Can I use alcohol-based cleaners to clean the CPU?
- What’s the right amount of thermal paste to apply?
- How do I know if my CPU needs new thermal paste?
- Will cleaning and reapplying thermal paste void my CPU warranty?
Hey there, tech enthusiast! Today, I’m going to walk you through the nitty-gritty on How to Clean Thermal Paste off your CPU. Whether you’re an experienced PC builder or just someone trying to give their computer some TLC, this guide has got you covered. Grab your toolkit and let’s dive right in!
Why Clean Thermal Paste Matters
Before we get our hands dirty, let’s understand why cleaning thermal paste is important. Thermal paste helps conduct heat between your CPU and cooler, ensuring your computer runs at the right temperature. Over time, this paste can dry out or become less effective, leading to overheating issues and a drop in performance. Cleaning and reapplying thermal paste can rejuvenate your CPU, giving it a new lease on life.
What You’ll Need
Here’s the list of items you’ll need to get started:
- Rubbing Alcohol (Isopropyl): Look for a high concentration (around 90% or more).
- Lint-free Microfiber Cloth: To wipe away the old thermal paste without leaving any residue.
- Cotton Swabs: Great for reaching small areas and corners.
- Thermal Paste: High-quality thermal paste for the reapplication.
- A Screwdriver Set: To safely remove the CPU cooler.
| Item | Purpose |
|---|---|
| Rubbing Alcohol (Isopropyl) | Cleaning thermal paste |
| Lint-free Microfiber Cloth | Wiping away old thermal paste residue |
| Cotton Swabs | Reaching small and tight areas |
| Thermal Paste | High-quality paste for reapplication |
| Screwdriver Set | Safely removing and reattaching the cooler |
Safety First
Before you begin, remember to turn off and unplug your computer. It’s crucial to ensure your safety and avoid any electrical mishaps. Also, consider grounding yourself by touching a metal object to discharge any static electricity that could potentially harm your components.
| Safety Step | Purpose |
|---|---|
| Turn off and unplug your computer | Prevent electrical accidents |
| Ground yourself by touching a metal object | Discharge static electricity |
| Work in a well-ventilated area | Prevent inhaling fumes from cleaning |
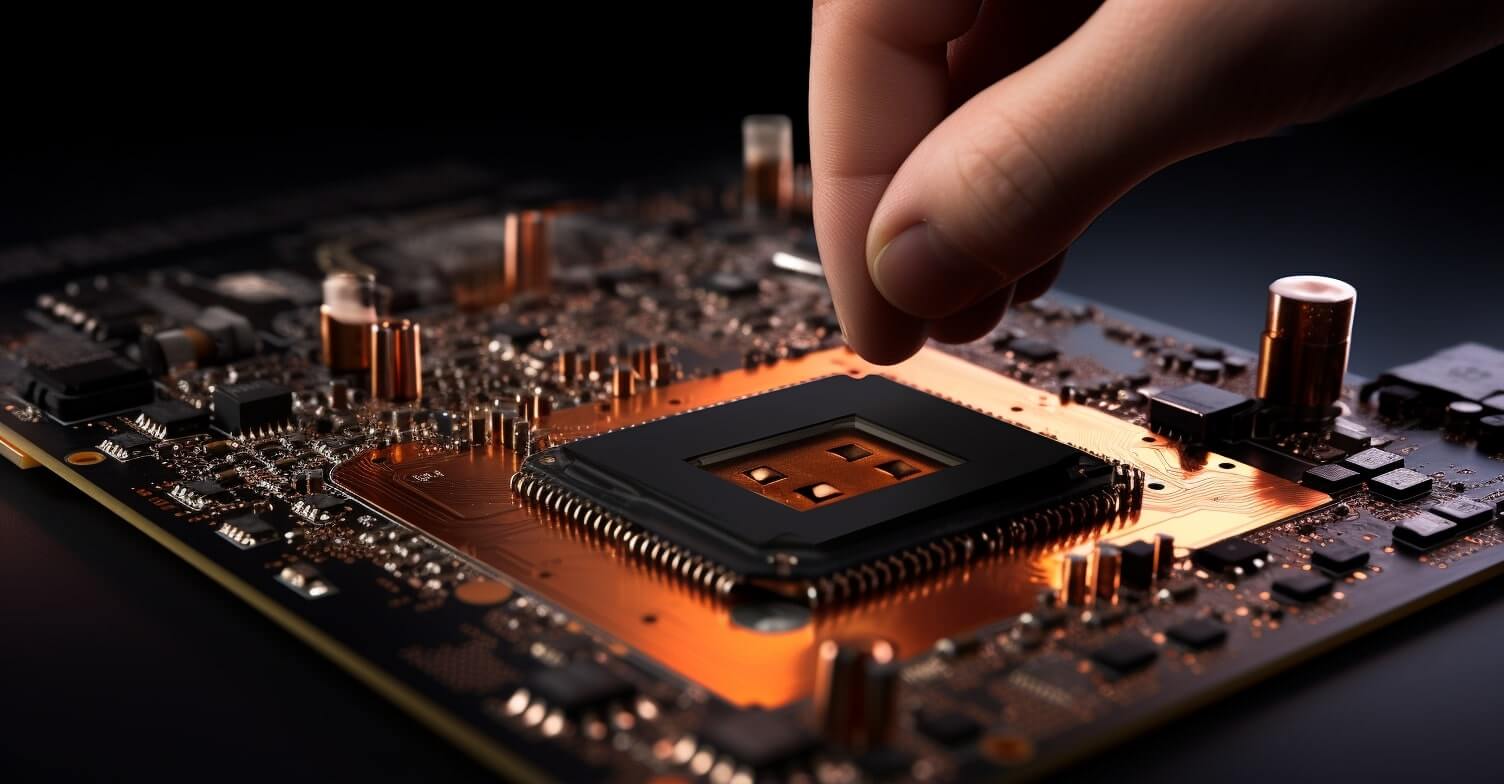
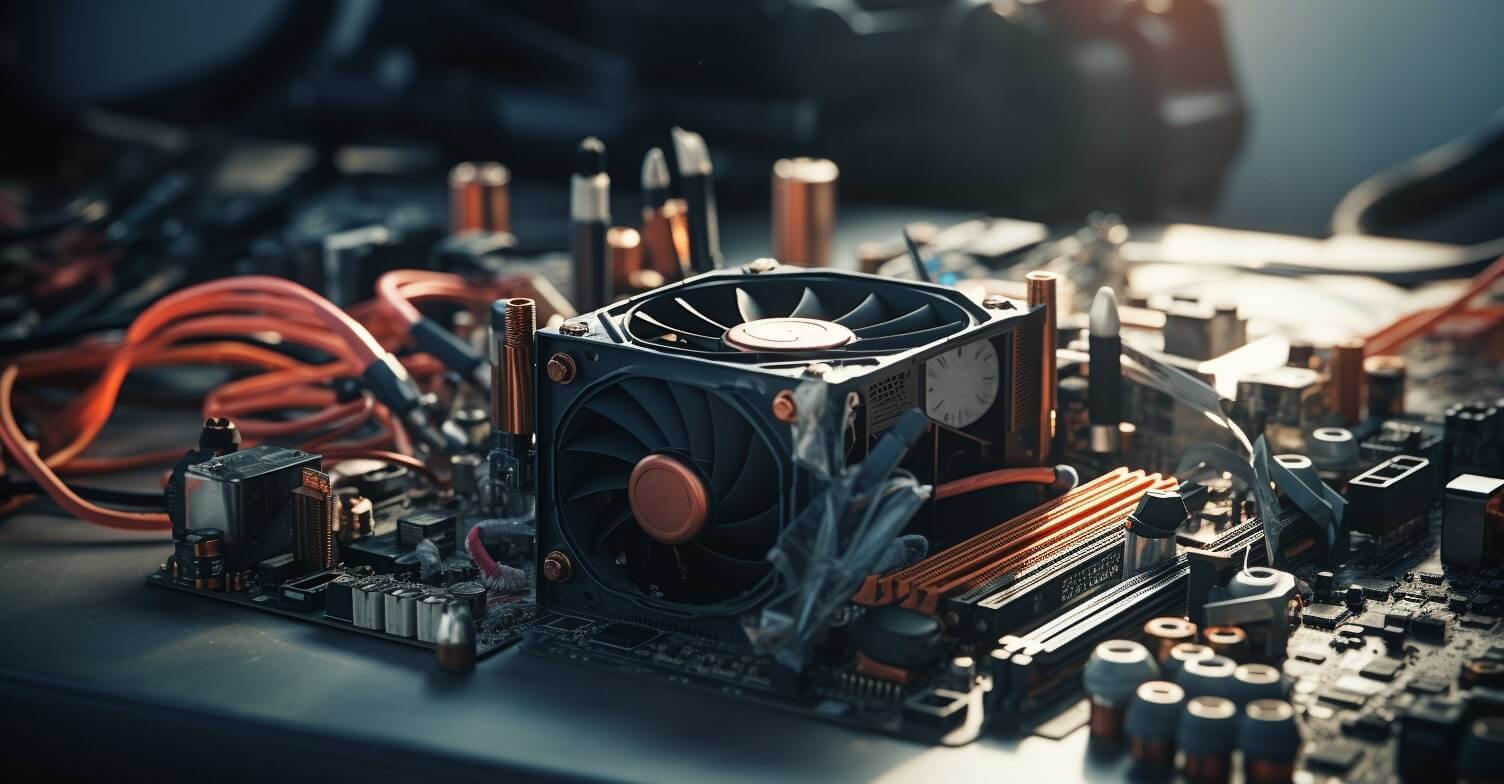
Removing the CPU Cooler
Locate the CPU Cooler: It’s usually a big metal or plastic component sitting on top of your CPU. Unscrew and gently remove it.
Detach the Cooler from the CPU: Slowly wiggle the cooler to break the bond between the CPU and cooler. Be patient; you don’t want to damage anything.
Clean the Cooler: If your CPU cooler has old thermal paste on it, clean it off with a lint-free cloth and rubbing alcohol. Ensure it’s spotless before moving on.
Removing the Old Thermal Paste
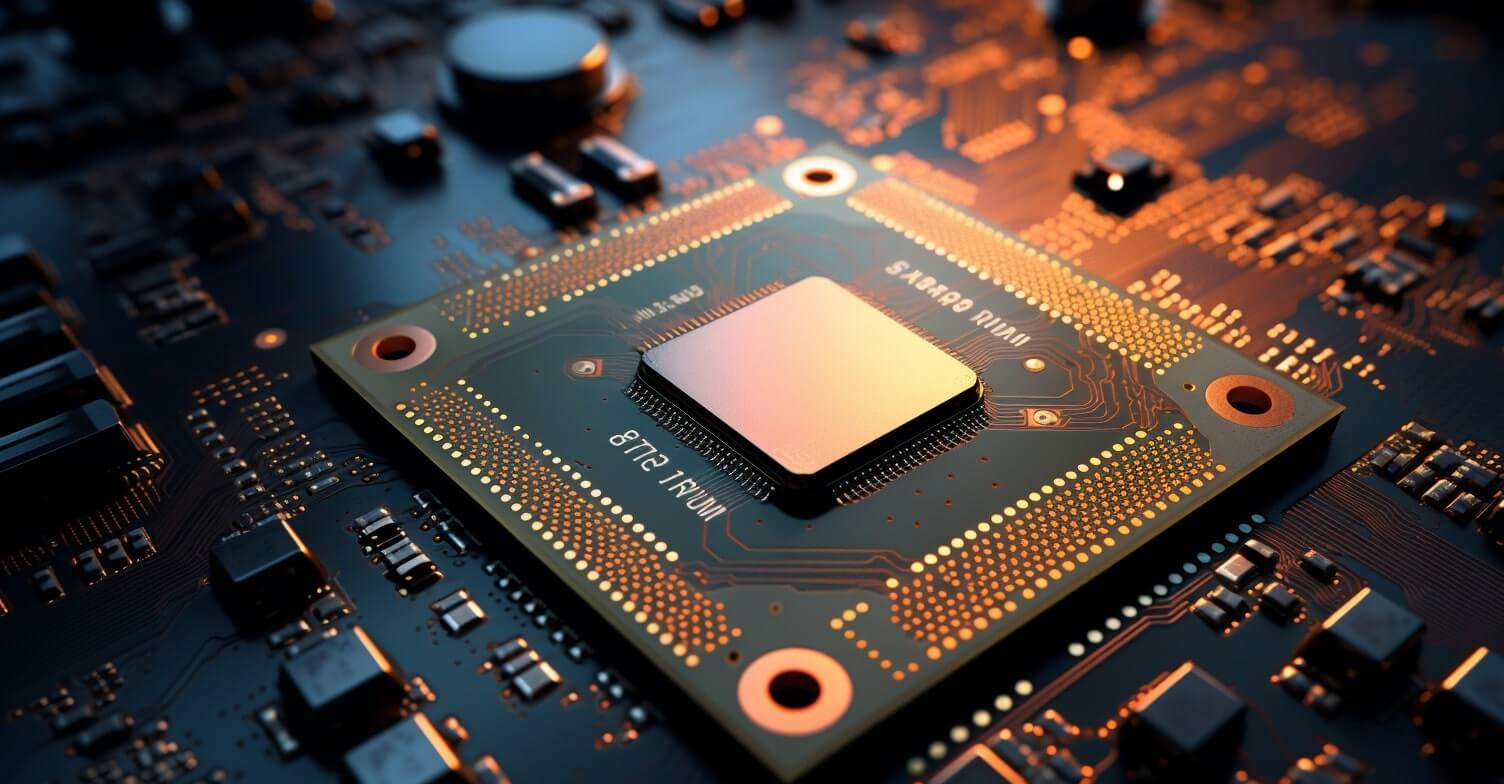
Identify the CPU: It’s a small chip underneath the cooler. Be extremely cautious not to touch or damage it.
Dampen a Cotton Swab: Dip a cotton swab in rubbing alcohol, making sure it’s not dripping.
Gently Wipe the CPU: Using the swab, gently wipe away the old thermal paste. Avoid excessive pressure, and don’t scrub; let the alcohol do the work.
Repeat if Necessary: You may need to repeat the process with a fresh swab until the CPU is clean and shiny.
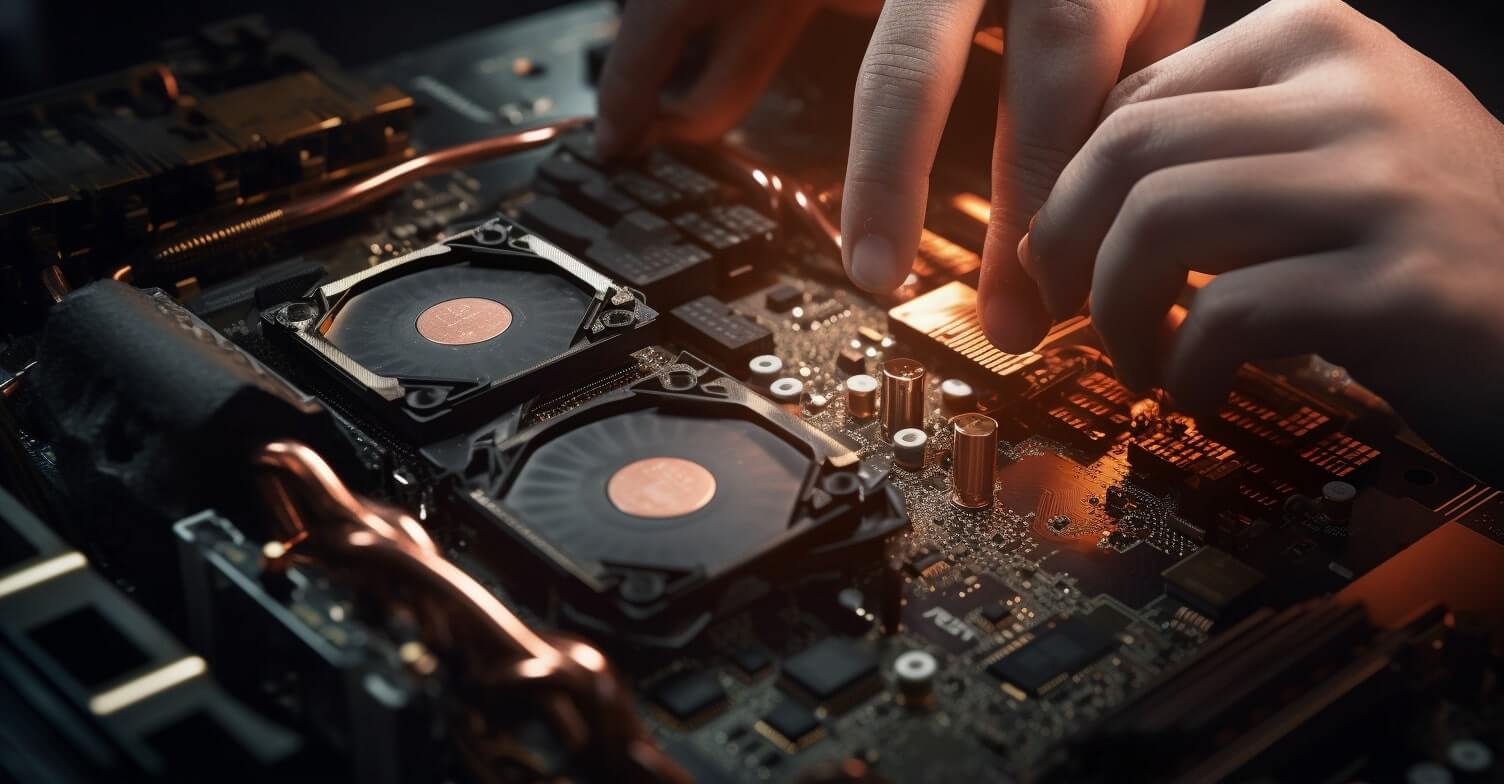
Applying New Thermal Paste
Apply a Pea-sized Drop: Squeeze a small pea-sized drop of thermal paste onto the center of your CPU.
Spread It Gently: Place the cooler back on the CPU, ensuring the paste spreads evenly. Tighten the screws in a diagonal pattern to ensure uniform pressure.
Reassembling Your PC
Reattach the Cooler: Carefully place the cooler back on the CPU and tighten the screws evenly.
Plug Everything In: Reconnect all the cables, ensuring nothing is loose.
| Step | Purpose |
|---|---|
| Carefully reattach the cooler | Ensure proper cooling and heat dissipation |
| Tighten screws evenly | Prevent uneven pressure on the CPU |
| Reconnect all cables | Ensure proper functioning of components |
Powering Up
Boot Your PC: Power on your computer and keep an eye on the temperatures. You should notice an improvement in heat management and overall performance.
Final Thoughts
Cleaning thermal paste off your CPU might seem like a daunting task, but it’s an essential part of maintaining your PC. By following these steps, you can ensure your computer runs smoothly and efficiently, extending its lifespan.
So, there you have it, a friendly guide to cleaning thermal paste off your CPU. Remember, take your time, be patient, and enjoy the improved performance of your freshly cleaned CPU. Happy computing!
Frequently Asked Questions (FAQs)
How often should I clean the thermal paste off my CPU?
It’s advisable to clean and reapply thermal paste every 1-2 years for optimal CPU performance.
Can I use any thermal paste for my CPU?
Yes, but high-quality, non-conductive thermal paste is recommended to prevent electrical issues.
Is it necessary to remove the CPU cooler for cleaning?
Yes, you must remove the CPU cooler to access and clean the thermal paste properly.
Can I use alcohol-based cleaners to clean the CPU?
Yes, isopropyl alcohol (90% or higher) is safe and effective for cleaning thermal paste.
What’s the right amount of thermal paste to apply?
A small pea-sized drop in the center of the CPU is typically sufficient for most CPUs.
How do I know if my CPU needs new thermal paste?
If your CPU temperatures are consistently high or you notice performance drops, it’s time for a thermal paste refresh.
Will cleaning and reapplying thermal paste void my CPU warranty?
Generally, no. However, it’s essential to check your CPU manufacturer’s warranty policy for specific details.